Heat transfer printing is a popular technique for applying artwork to garments, accessories, and various materials. From personalized T-shirts to custom bags, heat transfer methods allow for a high degree of customization. However, the quality of the final product largely depends on the artwork used. If you want crisp, clear, and professional results, you need to prepare your artwork with specific considerations in mind. In this article, we’ll dive into the essential artwork tips for successful heat transfers.
Understanding Heat Transfer Basics
Heat transfer printing involves applying heat and pressure to transfer an image from a carrier paper or vinyl onto a surface, typically fabric. The success of this process depends heavily on the quality of the artwork. Whether you’re using plastisol transfers, sublimation, or vinyl cut designs, the clarity and detail of your artwork will make or break the final print.
Choosing the Right File Format
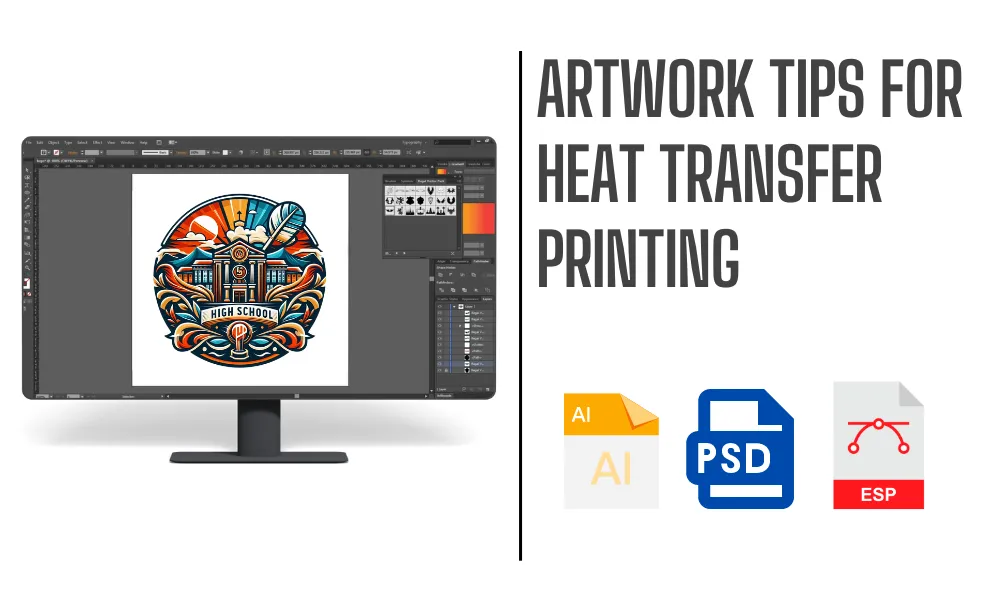
When it comes to file formats, not all are created equal. Heat transfers work best with vector files (such as .AI or .EPS formats). Unlike raster images (like .JPEG or .PNG), vector files are scalable without losing quality. Raster images are made up of pixels, which can become blurry when enlarged. For heat transfers, vector files ensure sharp, high-resolution designs that are easy to print at any size.
Resolution Matters
If you’re using raster images, resolution is key. Low-resolution images often result in fuzzy or pixelated prints. As a rule of thumb, the artwork for heat transfers should be at least 300 DPI (dots per inch). This ensures that the design retains its sharpness when printed. Images with lower resolutions might look fine on-screen but will degrade significantly when printed on fabric.
Color Considerations
Color accuracy is crucial in heat transfer printing. Designs should be created in the CMYK color mode rather than RGB. CMYK is the standard for printing, as it represents how colors are produced with ink. RGB colors may appear brighter on-screen but can turn out duller when printed. Using the correct color profiles ensures your design looks just as vibrant in real life as it does on your monitor.
Scaling and Sizing Artwork
When resizing artwork, it’s important to maintain its quality. Vector files make scaling simple without any loss of clarity, but raster images may need special care. Use tools like Adobe Illustrator or Photoshop to properly adjust your image size. Common heat transfer sizes range from 8” x 10” to 12” x 16” for T-shirts. Always double-check your size before printing to avoid unwanted cropping or scaling issues.
Creating Crisp and Clean Lines
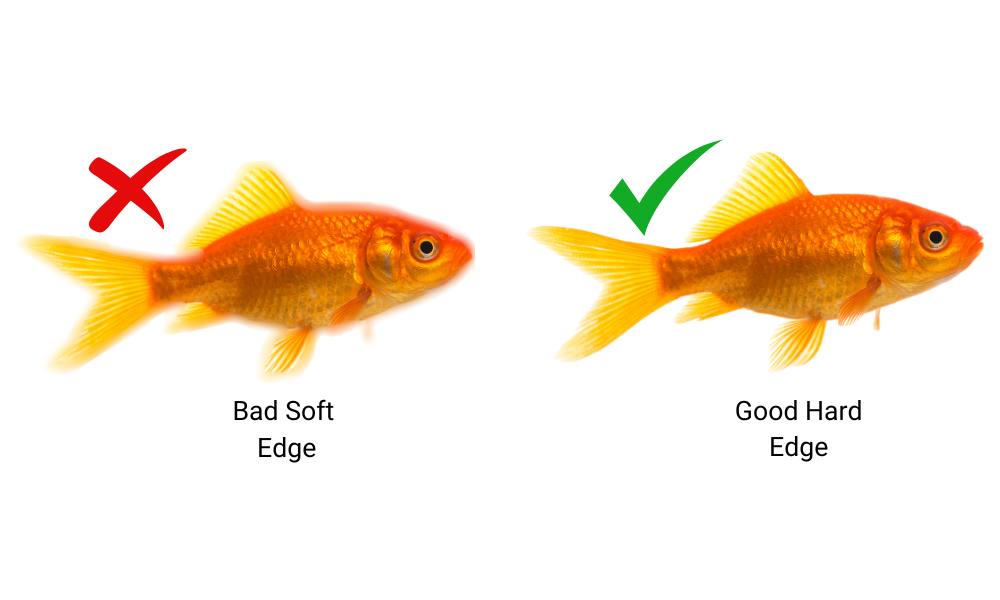
Sharp, clean lines are a hallmark of great artwork for heat transfers. Avoid using strokes that are too thin, as they may not print properly. Lines should be at least 1-2 points thick to ensure they show up clearly in the final print. For detailed designs, double-check the clarity of your lines at actual size before submitting the artwork for printing.
Avoiding Overly Complex Designs
While detailed designs can be impressive, simpler is often better for heat transfers. Overly complex designs with too many fine details may not transfer well, especially on fabrics with textures. Keep in mind that less is more, and bold, simple designs often produce the best results in heat transfer printing.
Choosing the Right Fonts
Font selection can make or break a design. For heat transfers, choose fonts that are bold and easy to read. Avoid overly thin or intricate fonts, as these may not transfer cleanly. Sans-serif fonts like Arial or Helvetica tend to work better for heat transfers because they’re easier to read at various sizes and don’t lose clarity during the printing process.
Transparency and Opacity Issues
If your artwork contains transparent elements, it’s essential to handle them correctly. Transparency may not translate well in heat transfers, so you should use solid colors wherever possible. Adjusting the opacity to achieve a similar effect can be an alternative, but it’s important to proof your design to see how it looks when printed.
Bleed and Margins
Adding a bleed area to your design is crucial for avoiding white edges on your final print. A bleed ensures that the design covers the entire print area, even if there’s a slight shift during printing. Typically, you should add at least 0.125 inches of bleed around your artwork. This margin ensures that no important design elements are cut off during the transfer process.
Working with Gradients and Shadows
Gradients and shadows can add depth and dimension to your artwork, but they need to be handled carefully in heat transfers. Gradients should be smooth, with a subtle transition between colors. Harsh or abrupt changes can look unnatural. Similarly, shadows should be soft and not overpower the main design elements.
Proofing Your Artwork
Before sending your artwork off for printing, always proof it. This means checking for any errors, pixelation, or unexpected color shifts. View your design at full size and print out a sample if possible. Proofing your artwork helps catch mistakes early, saving time, money, and frustration later on.
Special Considerations for Textiles
Finally, consider the fabric you’ll be printing on. Different fabrics react differently to heat transfers. For example, cotton absorbs ink well, while synthetic fabrics like polyester may require special inks or additional treatment to ensure a successful transfer. Be sure to adjust your artwork for the fabric texture and color to get the best results.
Conclusion
Creating perfect artwork for heat transfers requires attention to detail and a clear understanding of how the printing process works. By following the tips outlined above—such as using vector files, maintaining high resolution, and keeping designs simple—you can ensure that your heat transfer prints come out crisp, vibrant, and professional every time.